As 2020 took all of us in a radical new direction I took advantage of opportunities to learn. As I had been assessing my skills ate each stage of the growing process, I noticed my seedlings where not as strong as I thought they should have been. So when Fruition Seeds, a small seed company located in Naples, NY; offered their Seed Starting Academy for free. I jumped at the chance. The series of short videos take you through the entire process and teach practical and realistic methods to raise healthy seedlings.
One of the easiest changes for me to make was the lighting. I had been using the four foot shop lights that had been in the workshop. I had thought about making a change, but there were so many options. Do I buy flourescent plant lights, since I already have the fixtures? Do I try and find an LED retrofit for my fixtures? Do I invest in new LED lighting? I knew I wanted to try and reduce the amount of electricity I used, so the answer was likely LED. However, that lead to another list of questions about which LED to buy. In the Seed Starting Academy they shared about an LED strip from a Happy Leaf LED. Looking into the lamp it has different colored LEDs, and is built in the US. While LEDs have little that can be repaired, this lamp is designed so that if the power supply fails it can be replaced without having the throw away the entire lamp.

The Happy Leaf Procyon 2.0 over my onion seedlings

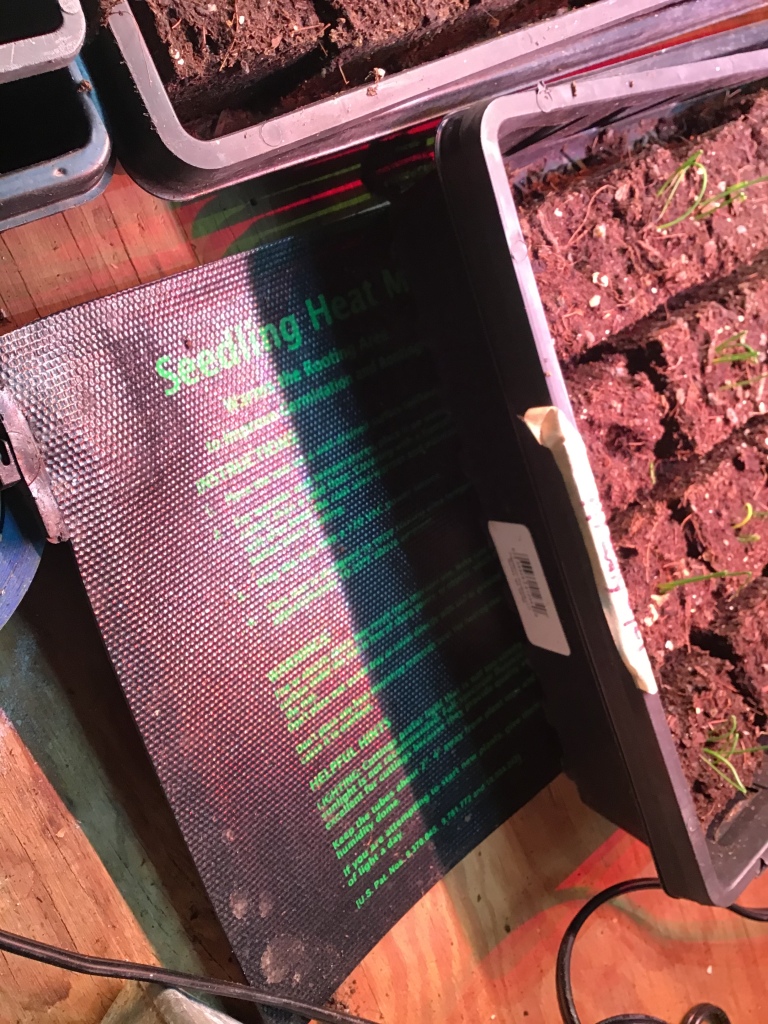
The second element I added to my seed starting infastructure was a warming mat. I start my seeds in the basement where the general temperature is cool. So I need to increase the temperatures for optimal seed growth. Watching the Seed Starting Academy I learned about how quickly a little heat can help promote seed growth. There are many to choose from, but I did not think I would need more than one seed tray so I started with one.

Something I try to avoid is relying on a one-time or one-use product, especially when it is something I cannot compost. In the Johnny’s Selected Seeds catalog I have seen soil blockers for sale. I have read a little about them and their benefits. I still struggled to conceptualize how they worked, and with the cost of the blockers, I was cautious. After watching the Fruition’s videos and there step-by-step instructions, I finally understood. Seedblocks don’t require a pot. Seeds started in blocks do not become root bound, they roots reach air and stop. They reduce transplant stress because you drop the plant into the hole and that is it. I purchased a small blocker that allows the start quickly and then you can drop them into a large block. It allows you to start a large number of seeds, and limits the waste of seeds that do not germinate. (You can see onions in the seed-blocks in the pictures above.) The draw back to using a soil blocker is it requires you to have the correct potting soil. The soil needs to cling to itself more than off-the-self potting soil. Several sources provide recipes to make your own, and I will likely do that in the future. This year I wanted to limit the opportunity for failure, with already using several new techniques. I chose to purchase several bags of Fort Vee seed starting soil from Vermont Compost. The Fort Vee is full of nutrients that will help the seeds grow strong.

So this has been a season of learning. I am interested in seeing how these techniques effect the plants, and eventually the harvest. I hope you have started to plan your growing and seed starting. I encourage you to not start to soon. I hope to hear from you about what you are trying this year.
Enjoy this season, learn from last season, and look forward to next season.
P.S. I do not recieve any compensation for the companies or products mentioned above. I purchased all the products.
